Login-less Authentication (SSO)
Single Sign On for the Widget enables teams to authenticate users directly with the Web Widget without the user needing an Imitate Email account.
For an intro to the web widget see Basic → Widget
The most obvious use case for this is when you are creating software for a 3rd party client and you want to let them see test emails as they are performing "user acceptance testing".
For example, a web design agency may provide a user acceptance or "preview" environment for their pet store client to test/review any changes to their system before being deployed to the live site. In that instance, the web design agency has an Imitate Email account and uses the Web Widget with SSO to let the pet store "testers" preview those emails in the app without knowing about Imitate Email.
How does it work?
The SSO uses a shared secret key so that you (the web design agency in the example) can cryptographically sign a JWT (json web token) and then send that signed token to Imitate Email, on behalf of the user (pet store tester).
As a result, you can use multiple test user accounts without needing to provision actual users in Imitate Email. These user accounts only get access to the mailbox that you specify in the token and are unable to access the Imitate Email web app.
How to set up
Fairly simply to get set up, just create a signed JWT using a shared secret for the correct mailbox and then modify your Imitate Email <scritp> tag.
Note, that creating signed JWTs is fairly standard across most programming languages. This documentation uses C#. See jwt.io for your programming language.
Generate the JWT
1. Locate the secret key for your mailbox
This is the same as the password for the mailbox (when sending email via SMTP).
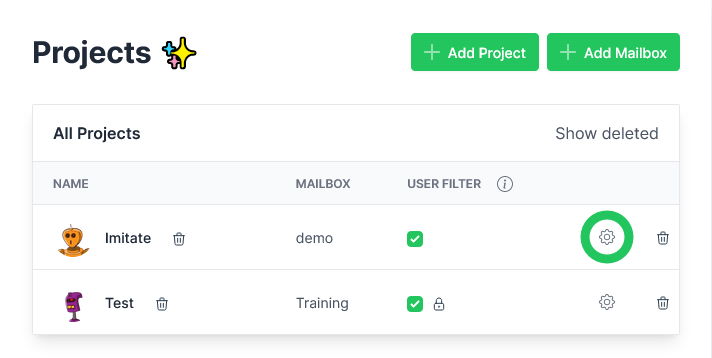
This can be found in Settings > Projects for team mailboxes and in Settings > My Mailbox for personal mailboxes (the password).
2. Locate your tenant identifier
This can be found in Settings > Tenants as well as the address bar:

3. Generate the JWT content
The payload fields should contain "email", "sub" (same as email), "given_name", "project" and "mailbox". You should also include a "exp" field for when the token should expire. Here's an example:
{
  "sub": "your_user@email.com",
  "email": "your_user@email.com",
  "given_name": "Testy McTestface",
  "exp": "<seconds since 1970>",
  "project", "<project name>",
  "mailbox", "<mailbox name>",
}
It may seem odd to specify an email but when you couple SSO with User Filters it all makes sense.
4. Sign the JWT
As mentioned, check your specific programming language for details. Note, that the token isn't encryped, only signed with HmacSha256.
In C#:
using System.Security.Claims;
using Microsoft.IdentityModel.JsonWebTokens;
using Microsoft.IdentityModel.Tokens;

public class Example {
    public static string GenerateImitateJwt(string email, string userName, string projectname, string mailboxName, string secretSigningKey) {
        var handler = new JsonWebTokenHandler();
        var token = handler.CreateToken(
            new SecurityTokenDescriptor {
                Subject = new ClaimsIdentity(
                    new[] {
                        new Claim(JwtRegisteredClaimNames.Sub, email),
                        new Claim(JwtRegisteredClaimNames.Email, email),
                        new Claim(JwtRegisteredClaimNames.GivenName, userName),
                        new Claim(JwtRegisteredClaimNames.Exp, DateTimeOffset.UtcNow.AddMinutes(20).ToUnixTimeSeconds().ToString()),
                        new Claim("project", projectName),
                        new Claim("mailbox", mailboxName)
                    }),
                SigningCredentials = new SigningCredentials(
                    new SymmetricSecurityKey(Encoding.UTF8.GetBytes(secretSigningKey)),
                    SecurityAlgorithms.HmacSha256,
                    SecurityAlgorithms.Sha256Digest)
            });

        return token;
    }
}
Update your script tag
The standard widget tag is very simple and makes use of your normal login for authentication. For SSO, you should modify the tag to be:
<script
    src="https://imitate.email/imitate-widget.min.js"
    data-project="<project name>"
    data-mailbox="<mailbox name>"
    data-tenant="<tenant identifier>"
    data-access-token="<signed JWT>"
    async ></script>
That's it! Drop in to your web app and let your clients test email flows easily.